 Ferndale
 Why New-Construction Windows Are a Different Job Than Replacements
Installing windows during new construction is not the same trade as swapping out an old window in an existing wall. On a new build, the window goes into a raw, unfinished opening — no interior trim, no siding, often no weather-resistive barrier (WRB) yet either. That's an advantage, because it lets us flash and seal the opening correctly from the studs out, before anything is covered up. But it also means there's no room for shortcuts: every layer of the water management system has to go in in the right order, or the mistake gets buried behind siding and drywall for the life of the house.
For a home going up in the Cordata area, that order of operations matters more than it would in a drier climate. This is a corner of Whatcom County that sees a lot of wind-driven rain off the water, a long damp season, and enough moss and algae pressure on north-facing walls to make sloppy flashing detail show up as a problem within a few years, not a few decades.
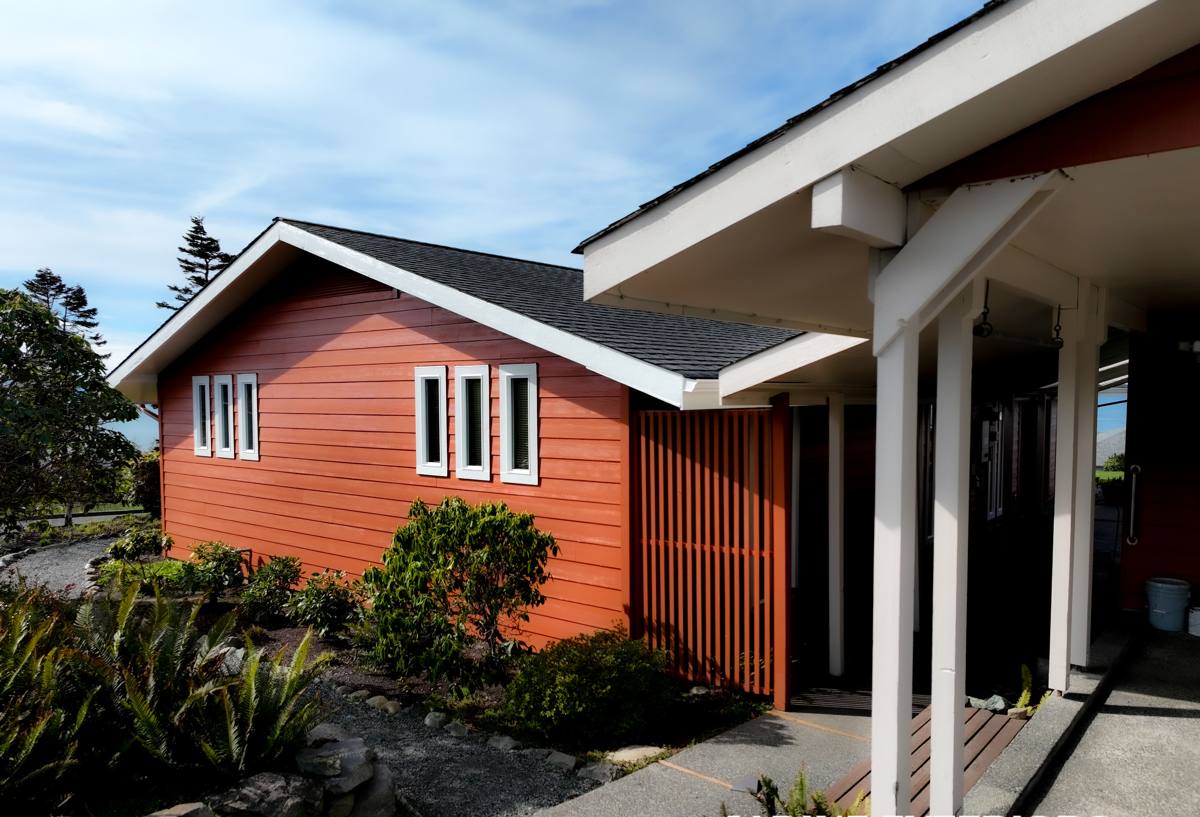
What This Climate Does to a Window Opening Over Time
Ferndale and the surrounding Cordata area sit close enough to Puget Sound and Bellingham Bay that salt-laden air is a real factor on exposed fasteners, hardware, and unprotected metal flashing. Combine that with our long wet season — where rain doesn't just fall straight down but gets pushed sideways into wall assemblies during winter storms — and you get a set of conditions that punishes anything less than a fully integrated flashing system.
Then there's moss. Whatcom County's mild, moist climate is exactly what moss and algae need to establish themselves on siding, trim, and window sills, especially on shaded or north-facing elevations. Moss itself doesn't damage a window, but it holds moisture against the surfaces around it, which accelerates wear on caulk joints, wood trim, and any flashing detail that wasn't sloped or sealed correctly in the first place. A window opening that's built right shrugs this off. One that was flashed in a hurry doesn't.
The Anatomy of a Correct New-Construction Window Install
There's no single "trick" that makes a window installation weathertight — it's a sequence, and every layer has to overlap the one below it correctly, like shingles on a roof. Skipping a step or doing them out of order is how leaks happen, usually years after the crew that installed it is gone.
Sill Pan Flashing
Every rough opening should get a sloped sill pan before the window ever goes in. This is the single most important detail on the whole install — it gives any water that gets past the window a path back outside instead of into the framing. We build these to shed water outward, not just line the opening.
Head Flashing and Drip Caps
Above the window, flashing has to be integrated with the WRB so water is directed out and over the siding below, never trapped behind it. On a home exposed to driving rain off the water, this detail is what keeps wind-blown moisture from working its way up and under the flashing at the top of the opening.
Integrating With the Weather-Resistive Barrier
The window's nailing fin has to be woven into the WRB in the correct shingle-lap order — housewrap or building paper at the sides and top lapping over the fin, with the sill pan lapping under the WRB below. Done out of order, water finds the gap. This is the step most often rushed on a tight framing schedule, and it's the one we won't skip to save time.
Sealant and Backer Rod
Sealant is a backup to good flashing, not a substitute for it. We use it at the right joints, with backer rod where gaps call for it, so the sealant can flex with the building instead of tearing loose.
Choosing the Right Window for This Climate
Frame material matters as much as installation quality when a home sits in a coastal, high-moisture climate. There's no single "best" window for every project — it depends on budget, exposure, and how the rest of the home is built — but some materials are a more sensible fit for Cordata's conditions than others.
| Frame Material | Moisture & Salt-Air Resistance | Maintenance | Typical Cost Tier |
|---|---|---|---|
| Vinyl | Good — won't corrode or rot, but can flex on very large units | Low | Lower |
| Fiberglass | Very good — dimensionally stable, holds up well to wind-driven rain and salt exposure | Low | Mid to upper |
| Wood, interior only | Poor exterior exposure without cladding — needs protection from our wet season | High | Mid to upper |
| Aluminum-clad wood | Good — exterior clad protects the wood, but clad seams need correct flashing | Moderate | Higher |
On new builds in this area, we most often recommend vinyl or fiberglass for straightforward performance and low long-term upkeep, and aluminum- or fiberglass-clad wood when the homeowner wants a wood interior look with the exterior protected from the weather. We're honest about trade-offs rather than pushing one brand — the right call depends on your elevation exposure, budget, and how much maintenance you want to take on.
Energy Performance and Code Requirements
Washington's state energy code sets minimum performance requirements for windows in new construction, and those requirements are stricter than in many other states. In practical terms, that means paying attention to two ratings on every window you spec:
- U-factor — measures how well the window resists heat loss; lower is better for our cool, wet climate.
- SHGC (Solar Heat Gain Coefficient) — measures how much solar heat passes through; less critical here than in sunnier climates, but still part of the code calculation.
We spec windows to meet or exceed current Washington energy code requirements as a baseline, and we can walk through how your window choices affect your home's overall energy compliance path alongside your builder or designer.
Our Process on New-Construction Window Installs
We work directly with framing crews and general contractors, so our part of the job fits into the build schedule instead of holding it up. A typical sequence looks like this:
- Rough opening review — we check sizing, plumb, level, and square before anything goes in.
- Sill pan flashing installed and sloped to shed water outward.
- Window set, shimmed level and plumb, and fastened per manufacturer spec.
- Head and side flashing integrated with the WRB in correct shingle-lap order.
- Sealant and backer rod applied at specified joints — not as a blanket fix, only where the system calls for it.
- Final check for operation, drainage path, and squareness before the wall is closed in with siding.
Because we also do siding work throughout the Ferndale area, we install windows with the finished siding assembly already in mind — flashing laps, trim reveals, and drainage planes that will match up cleanly when the exterior goes on, instead of creating extra work for whoever does the siding later.
What to Look For in a New-Construction Window Contractor
Not every crew that can hang a window can flash one correctly for this climate. Before you hire anyone for a new build, it's worth confirming a few basics:
- They install a sloped sill pan on every opening, not just caulk and go.
- They can explain how their flashing integrates with your specific WRB product.
- They follow the window manufacturer's written installation instructions — this matters for warranty coverage.
- They coordinate directly with your framer and siding crew rather than working in isolation.
- They're willing to explain trade-offs between frame materials instead of steering you to whatever's easiest to install.
Why Local Experience in Cordata and Whatcom County Matters
A crew that mostly works drier inland climates can get away with installation habits that don't hold up here. Working regularly in and around Ferndale and the greater Whatcom County area means we see, year after year, exactly which details fail first under our specific mix of coastal wind, driving rain, and moss-heavy shade conditions — and which ones hold up. That's not something you can learn from a manufacturer's install sheet alone; it comes from seeing how homes in this exact area actually weather over time.
Common Mistakes We See on New Builds
Most window problems on new construction trace back to a handful of avoidable issues: a sill pan that wasn't sloped, a WRB that was lapped backward at the flashing, fasteners driven through the fin at the wrong angle, or sealant used to cover a flashing gap instead of a real flashing fix underneath it. Every one of these is easy to prevent during installation and expensive to correct once the siding and interior finishes are on. Getting the sequence right the first time is the whole job.
If you're building in the Cordata area and want windows installed by a crew that treats flashing and water management as the actual job — not an afterthought to hanging glass in a hole — we'd be glad to take a look at your plans. Reach out for a free, no-pressure estimate using the form below.