 Ferndale
 Building New in Sumas Means Building for Real Weather
Sumas sits close enough to the water and the foothills that new construction here has to answer to weather most inland builders never think about. Driving rain off the Strait pushes water sideways into wall assemblies. Salt-laden air works on metal fasteners and finishes faster than dry-climate spec sheets assume. And Whatcom County's long, damp shoulder seasons keep every north-facing surface wet enough, long enough, for moss and algae to get a foothold. None of that is exotic information to anyone who has lived here a while — but it matters enormously when you're deciding how windows get installed in a brand-new wall, because a new-construction opening only gets built once. Whatever goes wrong with the flashing or the seal gets buried behind siding and trim for the next twenty or thirty years.
This page is specifically about new-construction window installation for homes going up in and around Sumas — not window replacement in an existing wall, which is a different job with different tolerances. If you're framing a new house, an addition, or a shop with living space, the decisions you make at the window rough opening stage are some of the most consequential ones in the whole build.
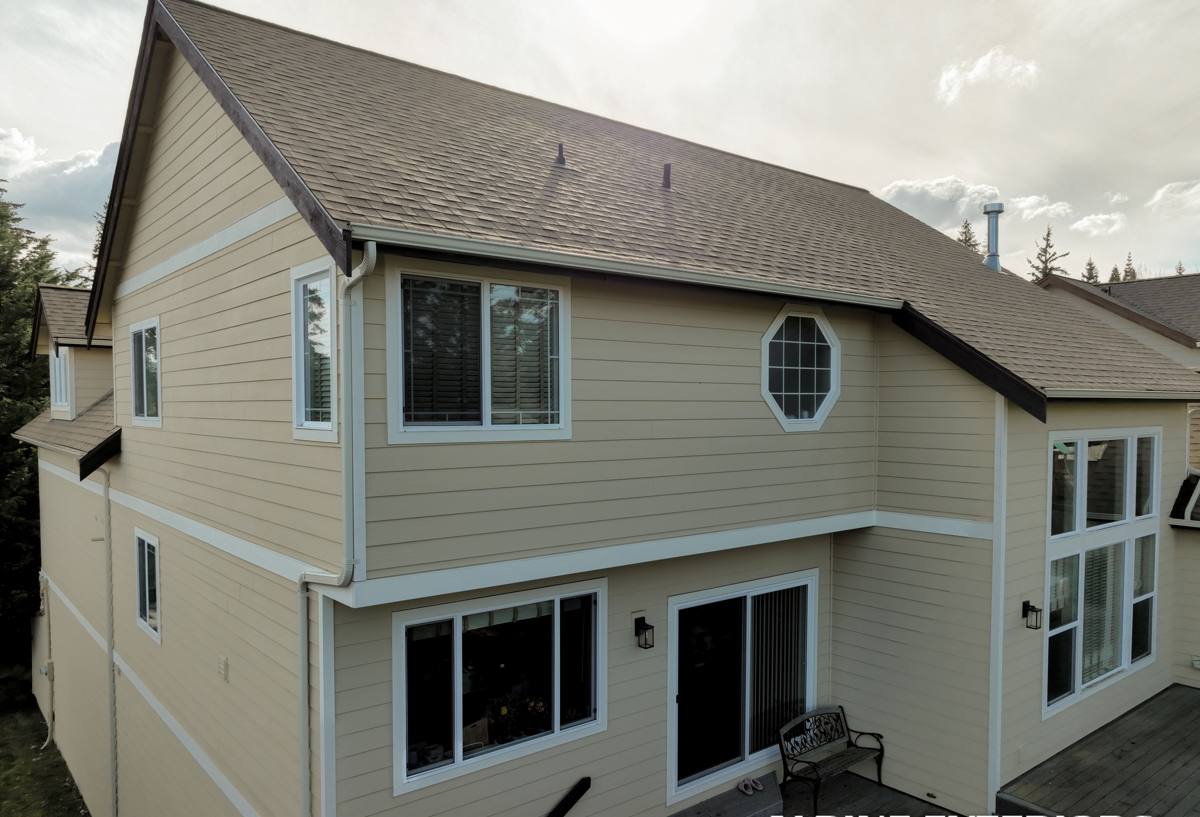
New-Construction vs. Replacement: Why the Distinction Matters
A lot of homeowners use "new windows" to mean any window project, but the trade draws a hard line between the two, and it changes almost everything about the install:
- New-construction windows have a nailing fin around the perimeter and get installed into a bare, unfinished rough opening before siding and exterior trim go on. The flashing sequence is built in layers, from the bottom up, integrated with the house wrap.
- Replacement (pocket) windows are sized to fit inside an existing frame, with the old exterior trim staying in place. Less demolition, but less access to correct any existing framing or flashing problems.
Because you're building new, you get the advantage of doing it right the first time — full access to the rough opening, the sheathing, and the weather-resistive barrier before anything is closed in. That's the good news. The trade-off is that new-construction installs leave zero room for shortcuts, because there's no future "we'll deal with it during replacement" fallback. Whatever's behind the trim in a new build stays behind the trim.
What a Correct New-Construction Install Actually Involves
There's a specific order of operations behind every properly installed new-construction window, and skipping steps or doing them out of sequence is the single biggest cause of water intrusion in newer homes we get called to inspect. The sequence, in short:
- Confirm the rough opening is square, plumb, and sized correctly for the window unit — not "close enough."
- Install a sloped sill pan flashing at the bottom of the opening so any water that gets past the window has somewhere to drain, away from the framing.
- Apply flashing tape or housewrap flashing up both jambs, lapped over the sill pan.
- Set the window, level and shim it, and fasten through the nailing fin per the manufacturer's schedule — not just "enough nails to hold it."
- Flash over the top nailing fin last, lapped under the housewrap above, so water sheds down and over every layer below it — never into it.
- Seal and backer-rod the interior and exterior per the window manufacturer's installation instructions, including any required foam or sealant at the perimeter.
The order matters because it's designed around gravity and lapping, shingle-style, so water always moves outward and downward over the next layer rather than behind it. A window installed out of that sequence can look identical from the curb and still leak the first wet winter.
Frame Material and Glass Options for Whatcom County Conditions
New construction gives you a clean slate to choose the right frame material and glass package for this specific climate, rather than matching whatever's already in the wall. Here's how the common options stack up for a coastal Whatcom County build:
| Frame Material | Moisture Resistance | Maintenance | Best Fit |
|---|---|---|---|
| Vinyl | Good — won't rot or corrode | Low — occasional cleaning | Most Sumas new builds; strong value |
| Fiberglass | Excellent — very stable in wet/cold swings | Low | Larger openings, exposed elevations |
| Wood (clad exterior) | Depends on cladding integrity | Higher — interior wood, exterior finish care | Homeowners wanting a wood interior look |
| Aluminum | Prone to condensation without thermal break | Moderate — watch fasteners near salt air | Limited use; specific design needs only |
For glass, we generally spec dual-pane, low-E units as the baseline for this area, since the coating helps manage both winter heat loss and summer solar gain without needing a heavier triple-pane package. Triple-pane makes sense on a north or west elevation that takes the worst of the wind and rain directly, or where a homeowner wants extra sound dampening near a road. It's rarely necessary on every elevation of a Sumas home, and we'll say so rather than upselling glass you don't need.
The Part Nobody Sees: Flashing and Moisture Management
Every window supplier's brochure shows a clean, dry installation. What actually determines whether that window stays dry for decades is the flashing detail behind the trim — and that's exactly where corners get cut on production-schedule builds. A few things we treat as non-negotiable on every new-construction window we set:
- A sloped sill pan under every window, full stop — not a flat piece of flashing tape.
- Compatible flashing materials and housewrap — some tapes and wraps don't bond well together, and an incompatible pairing can fail quietly for years before anyone notices.
- Correct lap sequence (sill, then jambs, then head) so water always sheds outward.
- Sealant only where the manufacturer specifies it — over-sealing a window so it can't drain is almost as bad as under-sealing it, because trapped moisture has nowhere to go.
- A visual check of the rough opening for square and proper support before the window ever goes in, not after.
This is the kind of work that's invisible once the siding and trim go on, which is exactly why it needs to be done right the first time. Whatcom County's driving rain patterns are unforgiving of a flashing detail that was "probably fine."
Sizing and Placement Decisions Worth Making at Framing Stage
Because you're still at the framing stage, there are a few decisions worth making before openings get finalized rather than after:
Overhang and Exposure
Roof overhangs matter more here than in drier climates. A window set under even a modest overhang sees noticeably less direct wind-driven rain than one flush with a gable end. If your plans have minimal overhangs on the weather side of the house, it's worth discussing extra flashing detail or a slightly heavier glass package for those specific openings.
Elevation Exposure
Not every wall takes the same weather. West and north-facing walls in this part of Whatcom County generally see more wind-driven rain and more prolonged dampness — which is also where moss and algae growth shows up first on adjacent siding and trim. It's reasonable to spec upgraded flashing or glass on those elevations specifically rather than paying for it uniformly across the whole house.
Window Schedule Accuracy
New-construction rough openings are framed to the window manufacturer's exact specifications. A rough opening that's even a half-inch off can force shimming that compromises the flashing plane. Getting the window schedule locked before framing saves rework later.
Common Mistakes We See on New Builds in This Area
Most of what causes early window failures on new homes isn't the window itself — it's installation shortcuts that don't show up until the first hard rain season. Watch for these on any build, whether we're doing the work or someone else is:
- Flat or missing sill pan flashing under the window
- Nailing fins fastened at wide intervals to save time, leaving the window under-secured
- Flashing tape applied in the wrong order (head flashing tucked under jamb flashing instead of over it)
- Incompatible flashing tape and housewrap brands paired together
- Sealant applied around the entire perimeter with no weep path for incidental water
- Rough openings shimmed heavily to fit an undersized or oversized window unit
Our Process for New-Construction Window Installs
For Sumas builds, our process is straightforward and we walk homeowners and builders through each stage rather than treating it as a black box:
- Plan review: we go over the window schedule against the framing plans before openings are cut, catching sizing or placement issues early.
- Rough opening check: every opening gets verified for square, level, and correct dimension before a window is set.
- Flashing and sill pan installation: done in the correct shingle-lap order, with materials verified compatible with the house's housewrap.
- Window setting: leveled, shimmed to the manufacturer's tolerance, and fastened to the full nailing schedule.
- Final seal and inspection: perimeter sealant applied per spec, then a final visual and functional check — operation, locking, and drainage — before trim and siding close it in.
We work new construction in Sumas regularly enough to know how local framing crews typically size openings and which flashing pairings hold up through a full Whatcom County winter. That familiarity means fewer surprises mid-build and fewer callbacks once the house is finished and occupied.
Why It Matters to Hire a Crew That Already Works Sumas
Window installation quality is hard for a homeowner or even a general contractor to verify once the wall is closed up — you're trusting the crew that did the work. A crew that installs windows on new builds throughout Ferndale and Sumas regularly has already seen how the local weather exposes bad details: which elevations take the worst wind-driven rain, which flashing pairings hold up, and where moss and algae show up first on a new home if the water management wasn't done right. That's knowledge you can't get from a manufacturer's install sheet alone, and it's the difference between a window that performs quietly for decades and one that becomes a hidden moisture problem behind new siding.
What This Typically Costs and What Drives the Range
Costs for new-construction window installation vary by unit count, size, frame material, and glass package, so we won't quote a number without seeing the plans. What we can tell you is what actually moves the price up or down on a Sumas build:
| Factor | Effect on Cost |
|---|---|
| Frame material (vinyl vs. fiberglass vs. clad wood) | Fiberglass and clad wood run higher than vinyl |
| Glass package (dual-pane vs. triple-pane) | Triple-pane adds cost per unit, worth targeting to specific elevations |
| Number and size of openings | Larger and more numerous units raise both material and labor cost |
| Elevation exposure and overhang design | Minimal overhangs may call for upgraded flashing detail |
| Access and scheduling with other trades | Coordinating install timing with framing/siding crews affects labor efficiency |
Living With New Windows Through Whatcom County's Wet Season
Once your windows are installed, a little routine attention keeps them performing as designed. Clear debris from sills and any adjacent drainage paths before the fall rains set in. During the long moss season, keep an eye on trim and siding directly around windows, especially on north-facing walls, since that's where moisture-loving growth tends to start first — catching it early is far easier than dealing with it after it's established. And if you ever notice a window sticking, a locking point misaligning, or staining on interior trim, get it looked at promptly; those are early signs worth checking rather than waiting on.
If you're framing a new home, addition, or shop in Sumas and want windows installed the right way the first time, we're happy to walk your plans, answer questions about flashing details or frame options, and put together a free, no-pressure estimate — just fill out the form below.