 Ferndale
 Windows Built for the Lummi Nation Shoreline, Not Just the Catalog
Homes in and around Lummi Nation sit closer to open water than most of Whatcom County — out on the Lummi Peninsula, along Bellingham Bay, exposed to wind and salt spray that inland Ferndale properties rarely see. A window that performs fine three or four miles inland can fail early out here if it isn't specified and installed with that exposure in mind. This page covers what we actually pay attention to when we install windows in this specific area: the materials that hold up, the installation details that keep water out, and what a correct job looks like from start to finish.
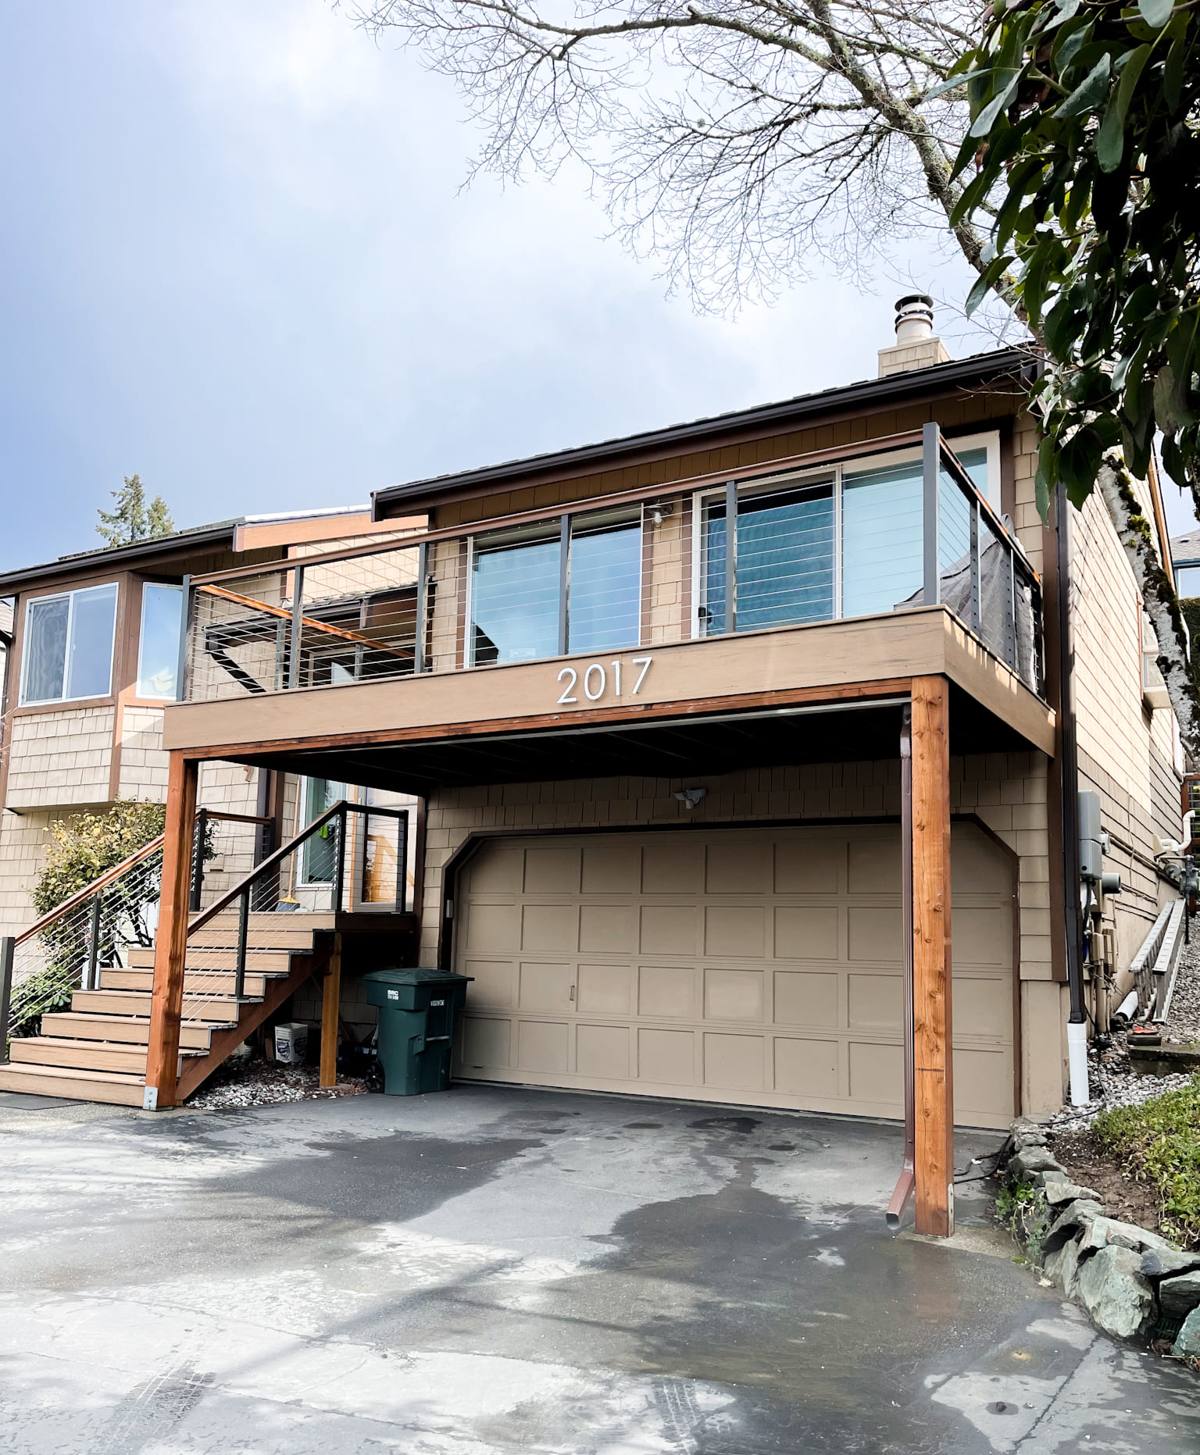
What Salt Air, Driving Rain, and a Long Moss Season Do to Windows
Three conditions do most of the damage to windows in this part of the county, and they compound each other over time.
Salt Air and Hardware Corrosion
Airborne salt accelerates corrosion on anything metal — hinges, cranks, screws, and cheap aluminum cladding. Once corrosion starts on hardware, windows get harder to open and close, seals stop compressing evenly, and small gaps open up that let water in. This is the single biggest reason we're picky about fasteners and hardware finish on jobs out here.
Wind-Driven Rain and Water Intrusion
Rain near the water rarely falls straight down — wind pushes it sideways and up under trim, sills, and poorly lapped flashing. A window that's watertight in a calm rain can still leak in a wind-driven storm if the flashing details weren't built to handle water moving in that direction. This is a detail that shows up in the installation, not in the window unit itself.
Moss, Algae, and Trapped Moisture
Whatcom County's moss season runs long, and shaded, damp window trim and sills are prime real estate for it. Moss and algae hold moisture against wood trim and sill areas far longer than they'd otherwise stay wet, which is what actually causes rot — not one heavy rain, but months of trapped dampness under organic growth.
Signs Your Current Windows Are Losing That Battle
- Hardware that's stiff, corroded, or won't latch tight anymore
- Soft or discolored wood trim around the window, especially at the bottom corners of the sill
- Visible moss or dark streaking on trim, sills, or the siding just below a window
- Fogging or condensation between panes of a double-pane unit (a sign the seal has failed)
- Drafts or a cold spot you can feel standing near the window on a windy day
- Paint that keeps bubbling or peeling at the same window no matter how often it's touched up
- Water staining on interior drywall or trim below a window after a storm
Any one of these on its own isn't an emergency. Several of them on the same window, especially on a wall that faces the water or prevailing weather, usually means it's time to replace rather than keep patching.
What a Correct Window Installation Actually Involves
The window unit itself matters, but most leaks and premature failures we see trace back to installation details, not the product. In this climate, a few of those details aren't optional.
Sill Pan Flashing and Drainage
Every window opening should get a sloped sill pan that directs any water that gets past the window frame back outside, instead of letting it sit against the rough sill and soak into framing. This is one of the most commonly skipped steps in cheap installs, and it's one of the first things we check on a replacement job — if the old window never had one, the new one gets one.
Fasteners and Hardware Rated for the Coast
Given the salt exposure out here, we're deliberate about fastener and hardware material — this is a place where using standard-grade screws and cladding shortens the life of the whole installation, regardless of how good the window itself is. It's a small cost difference at install time that avoids a much bigger repair down the road.
Sealants, Backer Rod, and Weather Barrier Integration
Caulk alone isn't a weatherproofing strategy. The window's flanges need to be properly integrated with the house's weather-resistive barrier — lapped correctly so water sheds down and out, not into the wall — with backer rod and sealant used where gaps are too wide for sealant to bridge on its own. Done right, this is invisible once trim goes back on. Done wrong, it's invisible too, until the wall starts showing damage.
Choosing a Frame Material for This Climate
There's no single "best" window material — it depends on budget, the home's style, and how much upkeep you want to sign up for. Here's how the common options hold up specifically against salt air, wind-driven rain, and a long damp season.
| Frame Material | Salt Air Resistance | Maintenance | Typical Cost Range |
|---|---|---|---|
| Vinyl | Good — won't corrode or rust | Low; occasional cleaning | Lower end |
| Fiberglass | Very good — stable, doesn't pit or corrode | Low | Mid to upper |
| Aluminum (uncoated or poorly coated) | Poor to fair — prone to pitting near saltwater unless properly coated | Moderate to high | Varies widely |
| Wood-clad | Fair — cladding protects the exterior, but exposed wood joints need attention | Higher; periodic sealing/painting | Upper end |
For homes closest to the water, we lean toward vinyl or fiberglass for the frame itself specifically because there's no metal surface for salt to attack. Wood-clad windows can still work well here, but they need more attentive caulking and sealing at the joints where the cladding meets the frame, especially on walls that take the brunt of the weather.
Our Window Installation Process
- On-site assessment. We look at each window opening individually — not every window on a house is in the same condition, especially on a home with mixed sun and shade exposure.
- Full-frame vs. insert decision. If the existing frame and sill are sound, an insert (pocket) replacement can work. If there's rot, corrosion, or the flashing was never done right the first time, we recommend a full-frame replacement so we can fix the flashing and sill pan while it's open.
- Removal and inspection of the opening. Once the old window is out, we check the sheathing and rough sill for hidden water damage before anything new goes in.
- Sill pan and flashing installation. This happens before the new window ever goes into the opening.
- Setting, shimming, and leveling the window. A window that isn't shimmed square will bind, leak, or fail its seals early no matter how good it is.
- Sealing and weather barrier integration. Backer rod, sealant, and proper lapping of the house wrap or building paper around the new flange.
- Interior and exterior trim. Finished to match the surrounding siding and trim as closely as possible.
- Final check. Operation, seal, and a look at the surrounding siding for any damage that needs addressing while we're already there.
What Affects the Cost of Window Installation Here
| Factor | Why It Matters |
|---|---|
| Number of windows | Per-window cost usually drops on multi-window jobs due to shared setup and access work |
| Insert vs. full-frame replacement | Full-frame costs more but is often required if there's hidden rot or bad flashing |
| Existing water damage | Rotted sheathing or framing found during removal adds repair scope |
| Siding disturbance | Full-frame jobs may require cutting back siding, which adds patch/repair work |
| Window size and type | Large picture windows or specialty shapes cost more than standard double-hungs |
| Site access | Waterfront lots and homes with limited access can add setup time |
We give a firm number after we've actually looked at your windows and the openings behind them — not a phone estimate — because the difference between "the trim needs paint" and "the sill is soft" changes the scope significantly.
Why It Matters to Hire a Crew That Already Works Lummi Nation
A crew that's only ever installed windows on dry, inland lots in the county will tend to use the same details everywhere, because that's what's always worked for them. Out here, that habit catches up with a house. We pay closer attention to hardware and flashing choices on wind- and salt-exposed walls because we've seen what standard-grade materials do in this specific pocket of the county after a few seasons.
There are also practical considerations specific to working in and around Lummi Nation — access, timing around weather windows, and being mindful of any permitting or jurisdictional steps that differ from standard county process. A crew that's done work here before isn't guessing at any of that on your job.
Timing an Installation Around the Weather
Window installation can happen in most seasons here, but the ideal window is during a stretch of drier weather — the opening is exposed to the elements for at least part of a day during removal and installation, and getting the sill pan, flashing, and sealant work done without rain interrupting mid-job makes for a cleaner, more reliable result. We plan around the forecast rather than a fixed calendar date whenever we have the flexibility to.
If your windows near Lummi Nation are showing their age — stiff hardware, soft trim, drafts, or fogged glass — we're glad to take a look and give you a straightforward, no-pressure estimate. There's a form below to get that started.